How to make a Ply shell Mould.
So here are the steps to make a ply shell mould, it is pretty simple and it should only take you two three days to have a working mould come out of it. If you have any issues or questions feel free to leave a comment.
WHAT YOU NEED
Materials
MDF – the thickness is your choice. But generally I would go for 16mm or 18mm, the amount you will need will vary on mould size but I will let you work that one out.
BendyPly – or MDF, something to line inside to make a smooth cylinder.
Hinges
L Brackets
Wax – of the candle variety
Screws
Glue – just wood glue, or PVA would be fine
Tools
Drill – with screw-driver attachment
Router – with straight bit
Jigsaw/table saw/ hand saw – doesn’t really matter what type as long as it cuts.
METHOD
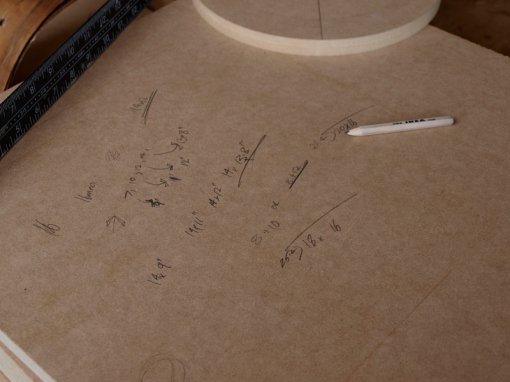
1) Grab a book or blank piece of wood and work to work everything out. You need to figure out the size of the drum you wish to figure out and work back from there. This will get you the size of the circles you need to cut, the height (depth) of the mould (worked out by the thickness of the MDF) Also plan out the process and how you are going to do it, this will make everything run a lot smoother. Remember a drum is not the exact diameter described. So a 14” drum is more like 13.875” remember this when planning out your circle jig. 
2) Once you know the size of the drum you wish to build you can the cut up the MDF to the correct size (I plan this before I buy the MDF and get the shop to cut it for me) if you are doing a 14” drum allow for about 2” either side to create the support (making an 18”x18” square.)
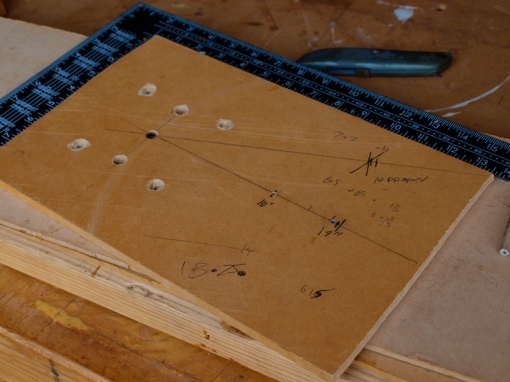
3) Now to make the Circle Jig. It is quite simple really. Get a piece of MDF and your router. You need to attach the router to the MDF, each router has different screws in different places so if your router has a removable base plate – remove it and trace it onto the MDF. Once you have drilled the holes, attach the router with a ¼” plunge bit and plunge the hole into the MDF. Next you will need to make the hole for the centre of the circle. To get the location of the hole you will need to draw a line through the centre of the hole you just plunged. To get the length you will need to get half of the diameter of the drum then add the thickness of the bendyply.
4) Mark the centre of the MDF squares and drill a hole. You can screw the circle jig onto the square, or what I do is take the drill piece out of the drill and use that as a centre piece, providing the drill bit is thick enough – too small and it will snap.
5) Make sure it’s clamped and then check the clearance to make sure the router will spin freely without getting caught.
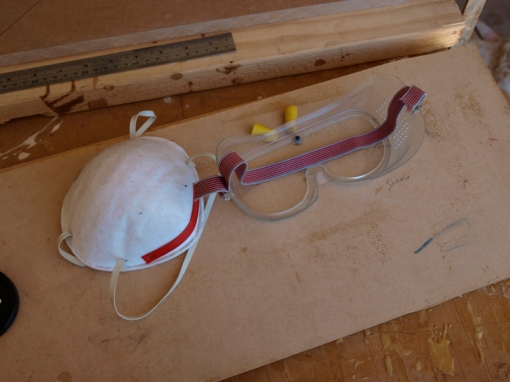
6) Remember safety when using the router, dust mask (as MDF makes fine sawdust) goggles and ear plugs. Use tight fitting gloves if you wish, but loose ones will pose more of a threat then they will keep you safe.
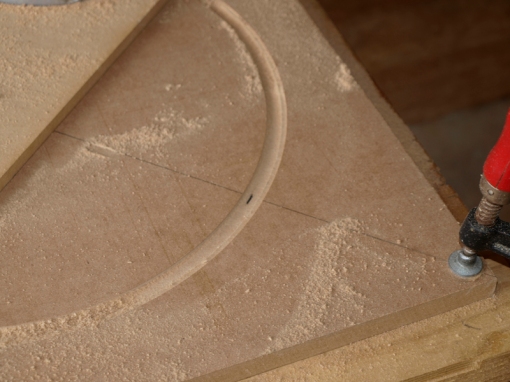
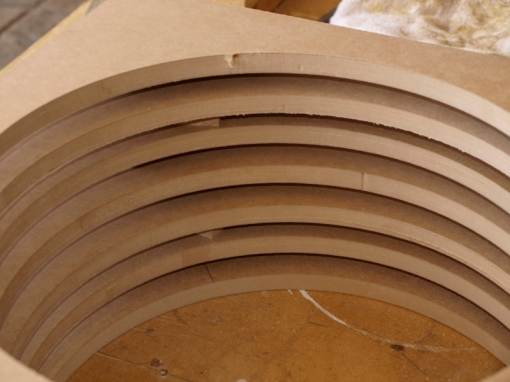
7) On the first piece plunge slightly take the circle jig off and measure the circle. Make any adjustments with the with the jig plunge slightly again, measure and if this is right go ahead and cut the circle out. (as you can see I needed to make a few adjustments)
8) Next cut up the spacers, and lay up the mould with-out glue. Check it’s the right height and make any adjustments. Glue all the pieces together and then to make it a nice cylinder put the bendyply in the middle and the force should move the pieces into place – then clamp. When stacking the MDF only allow for 1-2” in-between. Generally I only stack one piece in-between the circles. So that’s either a 16mm or 18mm gap between the circles.
9) After the glue has cured, get out some sand paper and fix up and bumps etc from the mould. Then glue the bendy ply into place. I generally don’t measure the bendy ply, but if you do it right it shouldn’t need force. I add the gym ball just to make sure it’s going around the to conform to the circle perfectly.
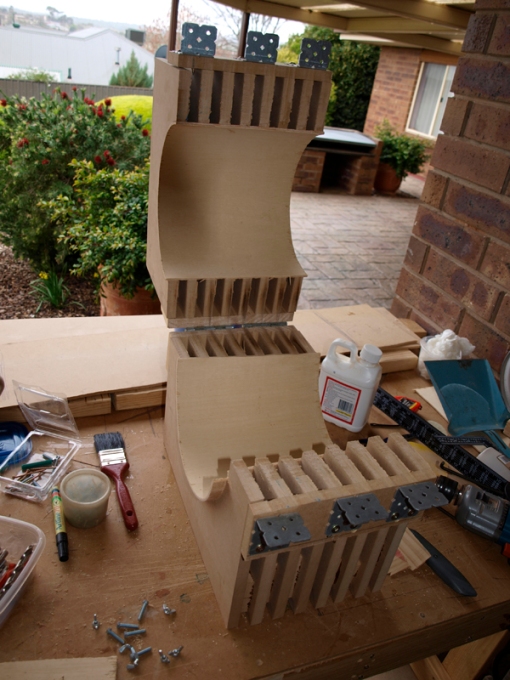
 10) Attach two more plates either side of the mould, after they are attached cut the mould in half. Once the mould is in half you can cut any excess off from the mould. With this mould I will leave it on as I will be experimenting with a few things.
11) Wax up the inside (this will help stop the glue from the shell making the shell stick to the mould)
12) Next you will need to attach the Hinges and brackets (this will allow the mould to be opened) the two L brackets will form the lock. When you place the two halves together remember to make up for the thickness cut out so that it still forms a perfect circle.
DONE.
